


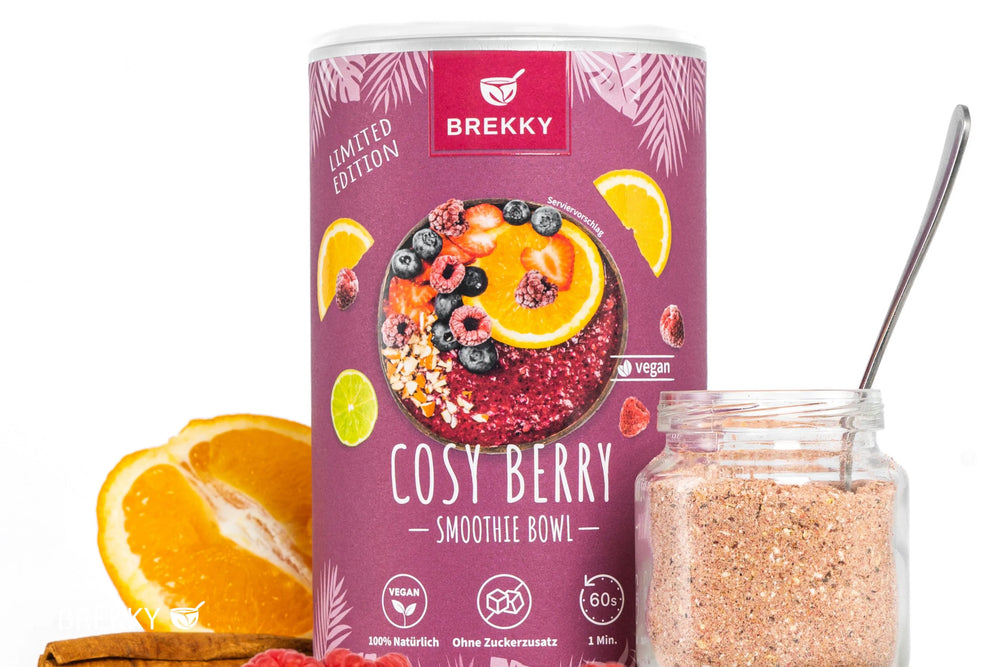
Make your own smoothie bowl: How to make the perfect DIY breakfast
Contents


Why make your own smoothie bowls?
The basic equipment for perfect smoothie bowls
Equipment and tools
- Mixer or hand blender
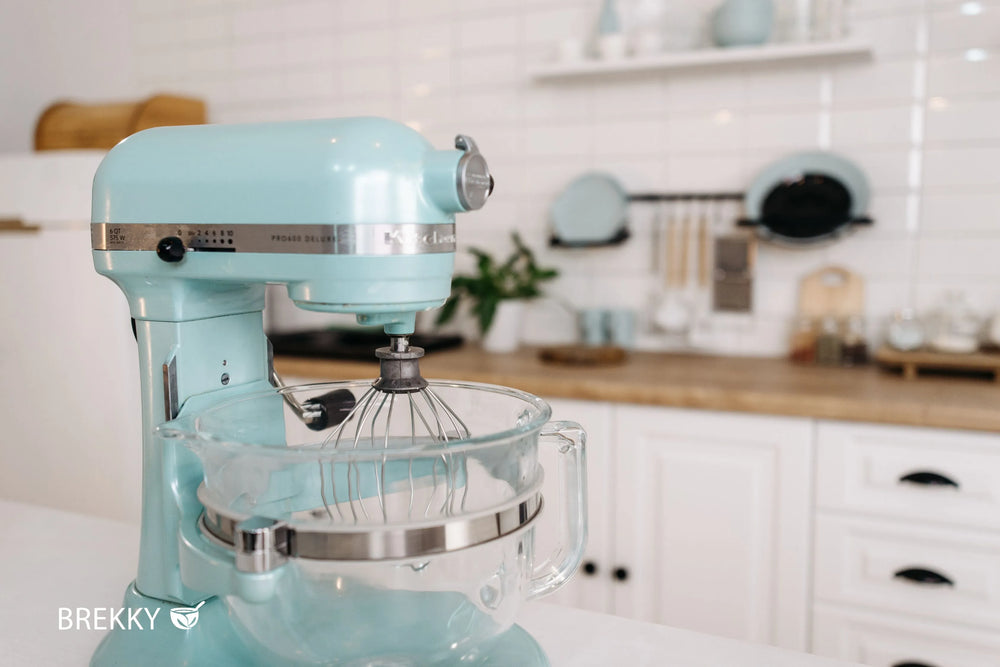
The heart of smoothie bowl preparation is a powerful blender or a sturdy immersion blender. With this, you can achieve a creamy consistency in no time. Whether you use a stand mixer, high-performance blender, or Thermomix, it's important that the appliance is powerful enough to reliably process frozen fruit or solid ingredients like nuts or seeds.
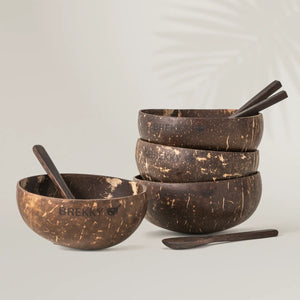
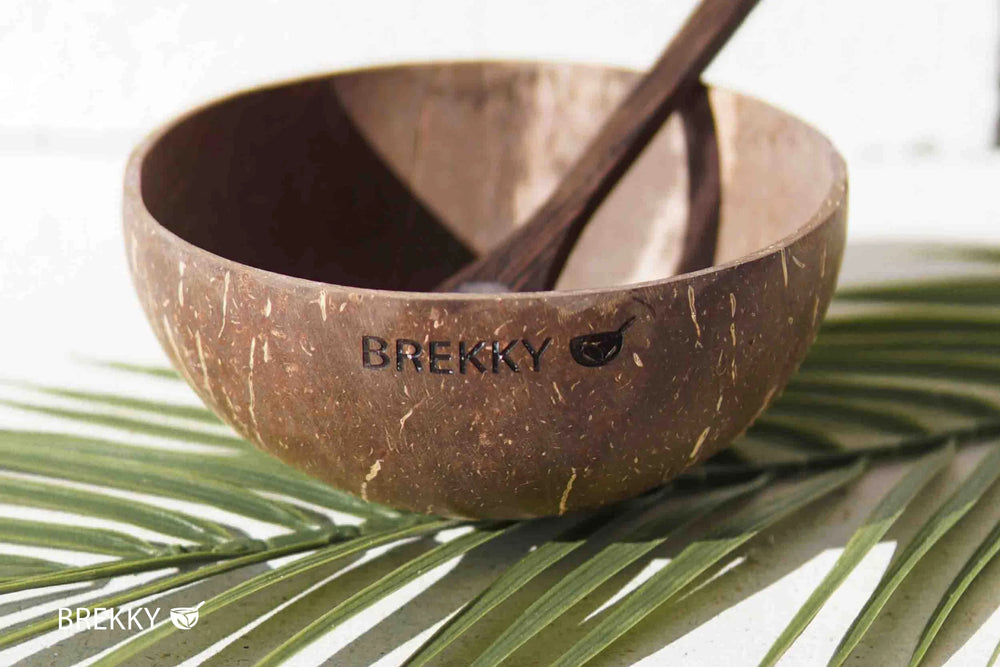
- Bowls
It's especially worth having attractive bowls on hand for visual appeal. Smooth surfaces or bright colors accentuate the fresh fruit and toppings. Of course, you can also use a regular cereal bowl.
- Measuring cups and spoons
A simple measuring cup is useful for estimating the amount of liquids or dry products. Tablespoons or teaspoons are ideal for measuring powders, seeds, or nuts.
- storage container
If you want to make your own smoothie bowl powder, you will need airtight containers in which you can store the powder away from moisture and light.
Basic ingredients for the base
- Fresh and frozen fruit
Bananas, berries, or mango chunks are particularly popular for a classic smoothie bowl. Bananas provide a pleasant texture thanks to their natural sweetness and creamy consistency. Frozen berries, such as raspberries, strawberries, or blueberries, keep your bowl nice and cold and intensify the flavor. Other frozen fruits, such as pineapple, peaches, or papaya, can also make an exciting base.
- liquid
Plant-based drinks (e.g., oat, almond, or soy drinks) or cow's milk are usually used as liquids. Coconut water or fruit juices also add a special flavor to your smoothie bowl. Be careful not to use too much liquid, as this will make the bowl too runny.
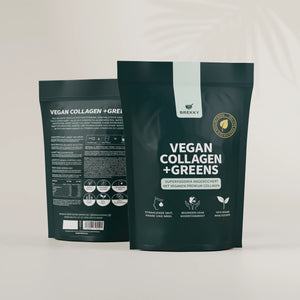
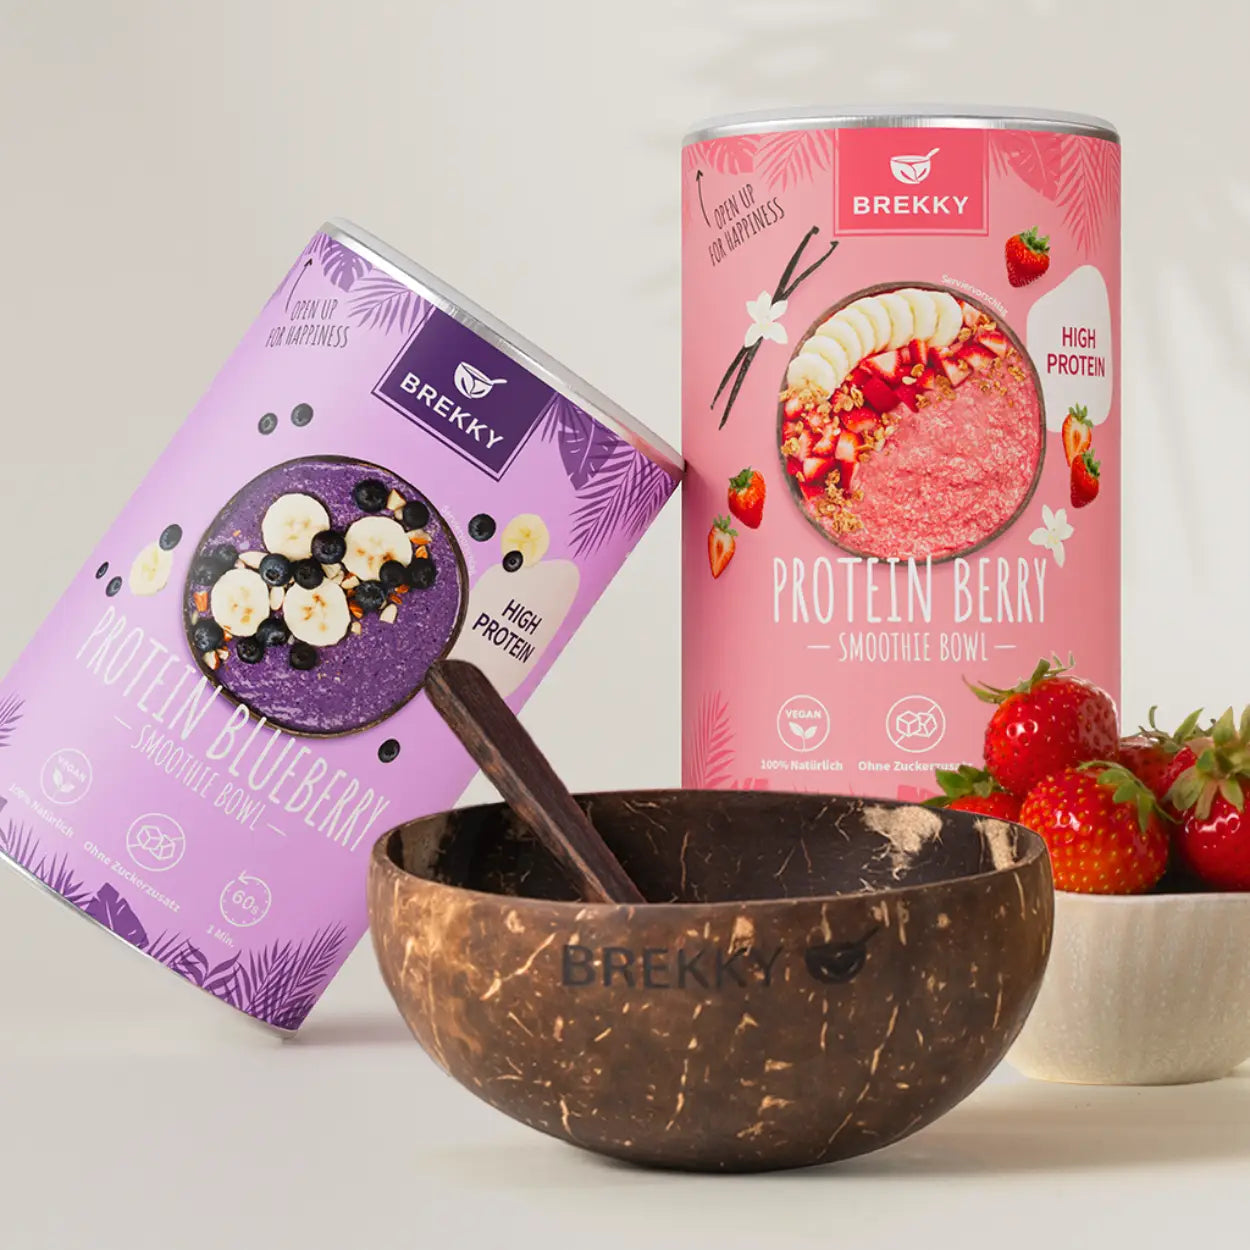
- Protein source (optional)
To make your smoothie bowl even more filling, you can incorporate protein sources. Low-fat quark, yogurt, plant-based skyr, or even plant-based protein powder are good options and also help create a pleasantly creamy consistency.
- Natural sweetness
If you'd like a sweeter smoothie bowl, use natural sweeteners like honey, dates, maple syrup, or agave nectar. Bananas or other sweet fruits are often enough to give your bowl a certain basic sweetness.
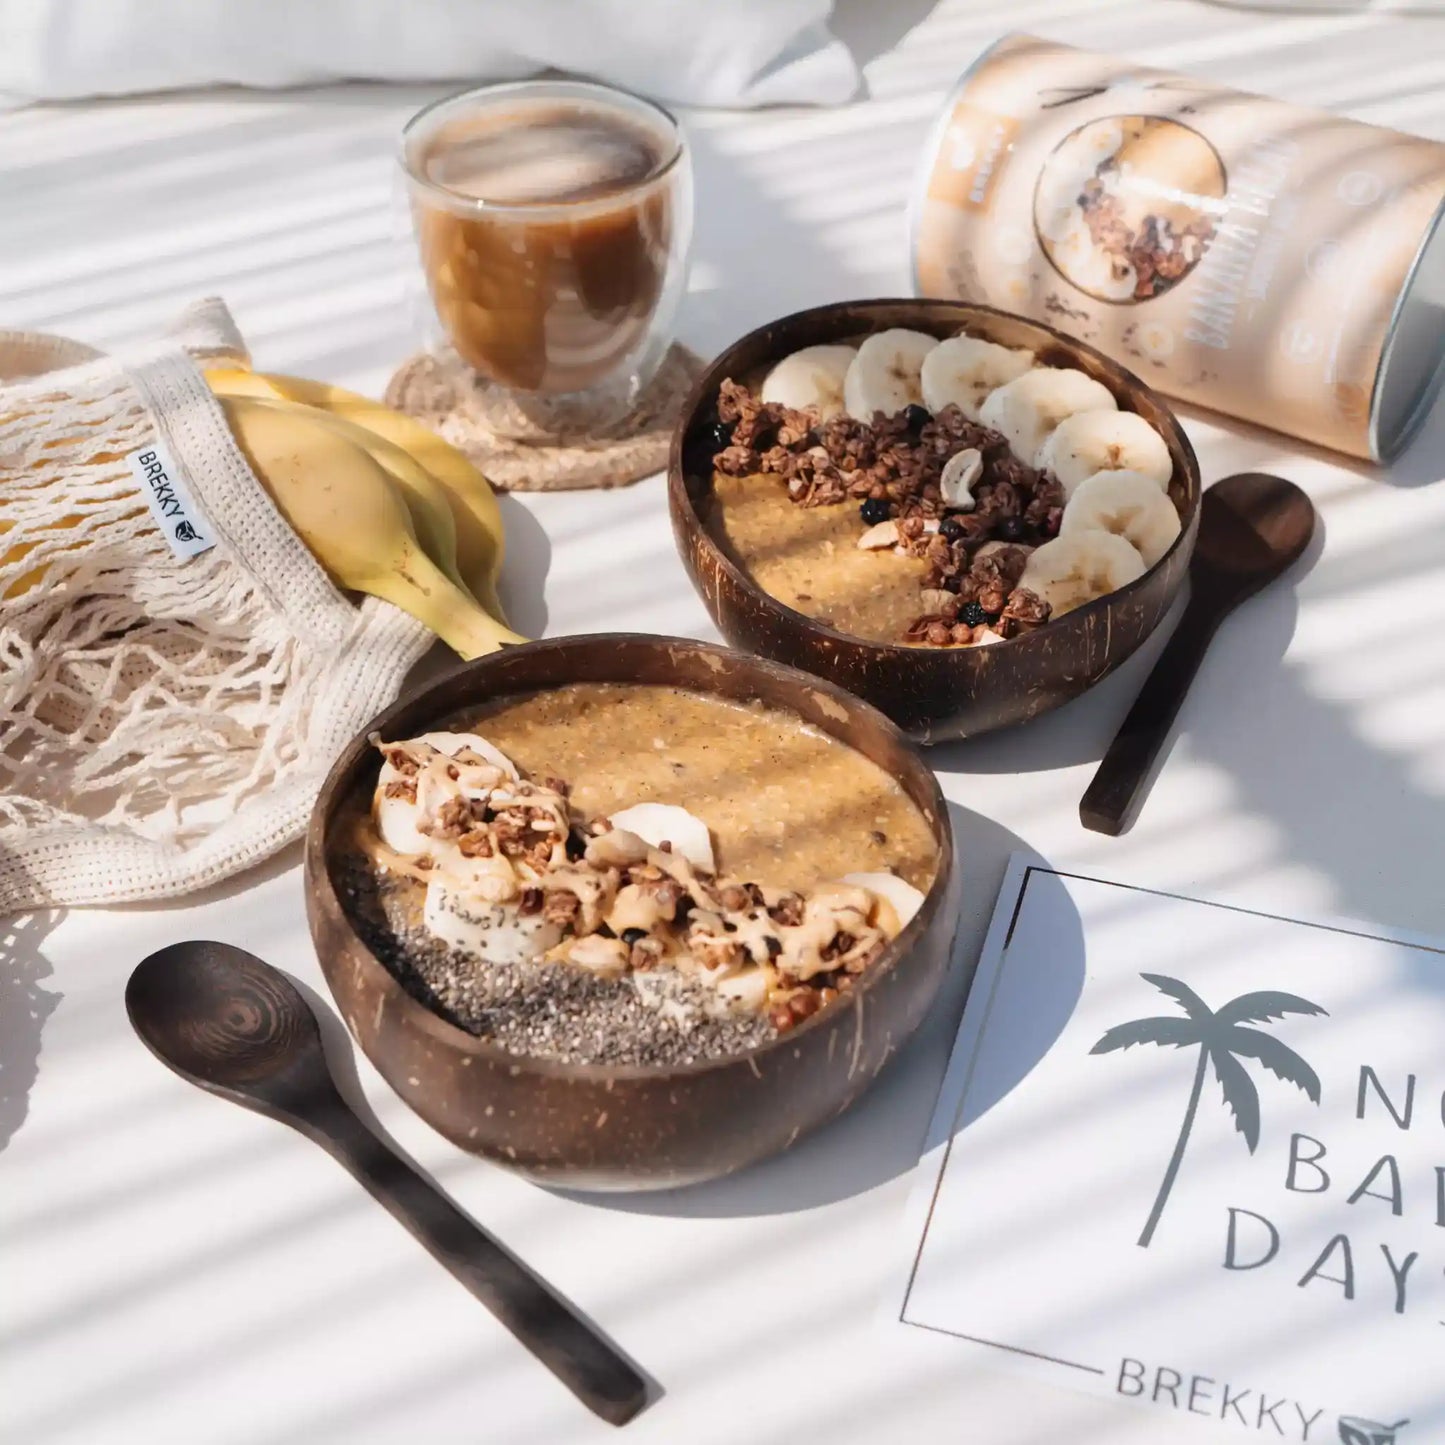
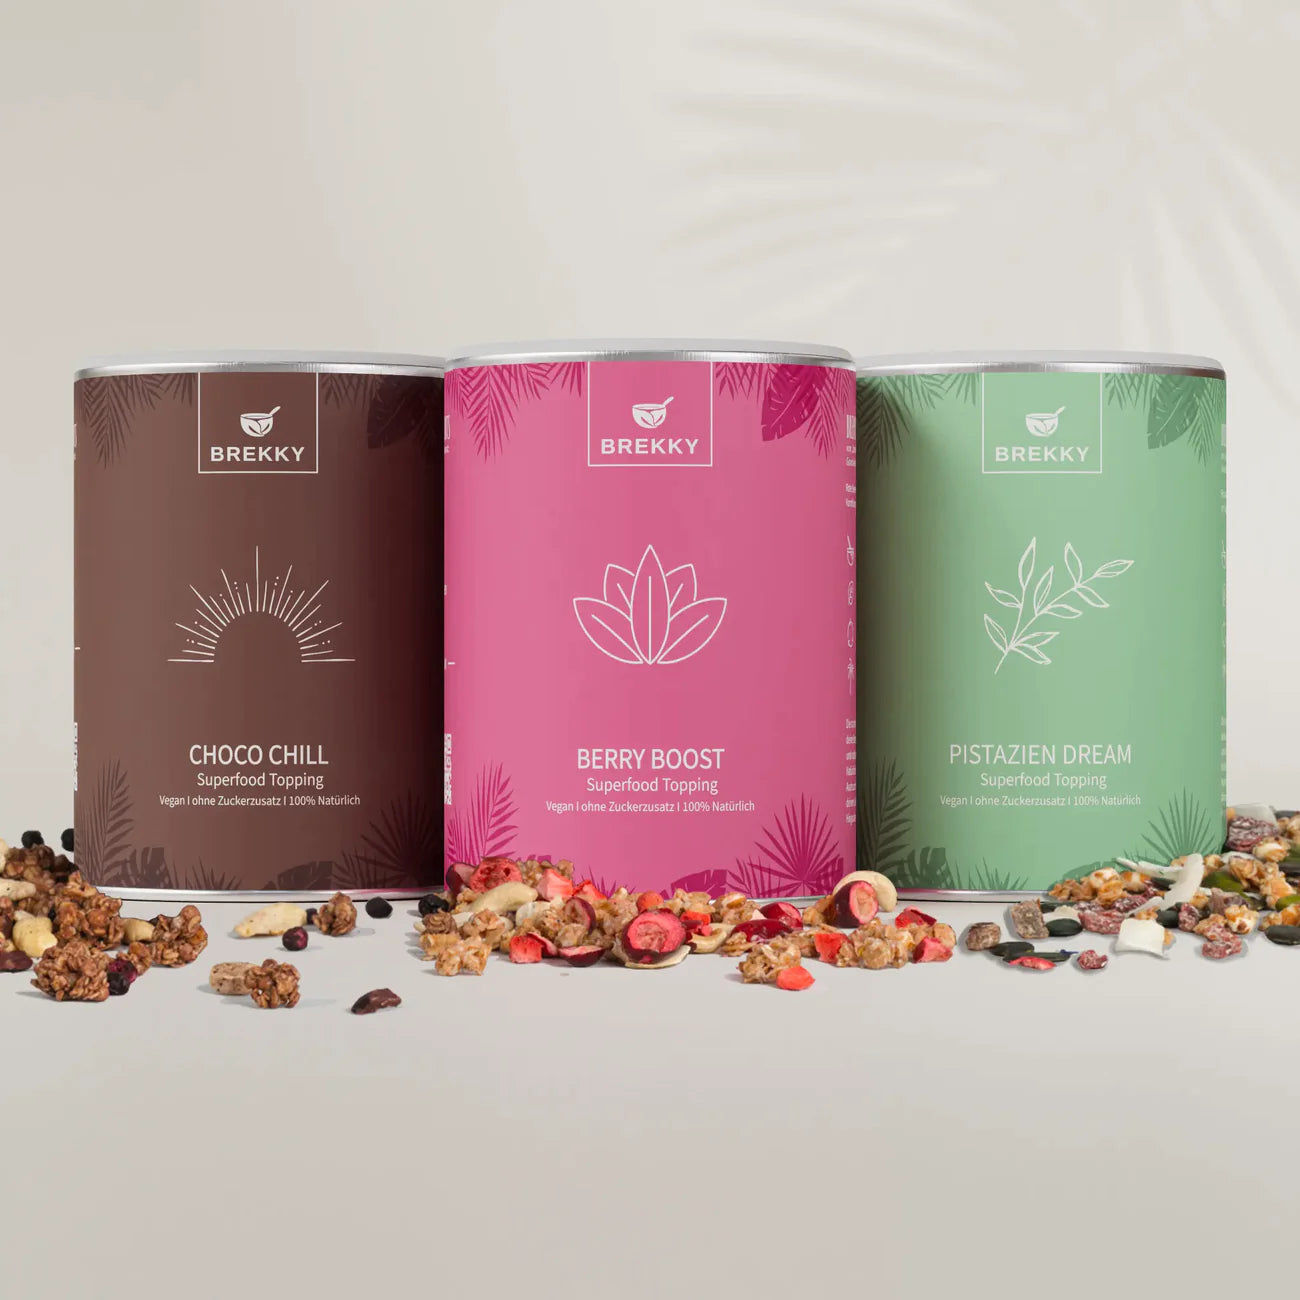
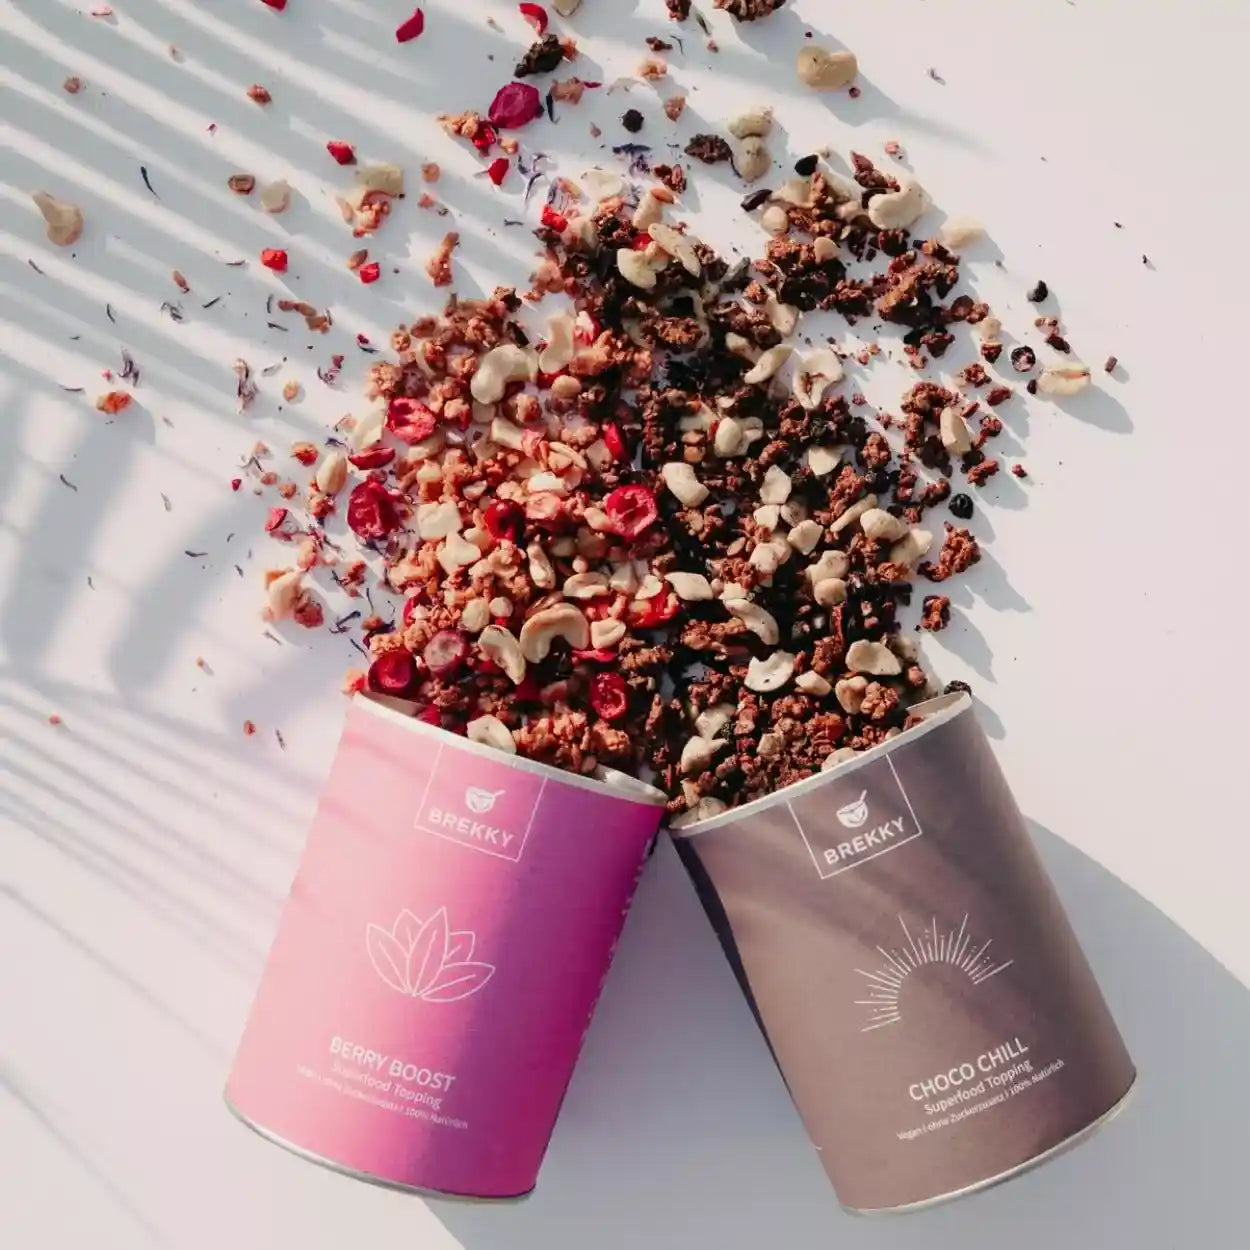
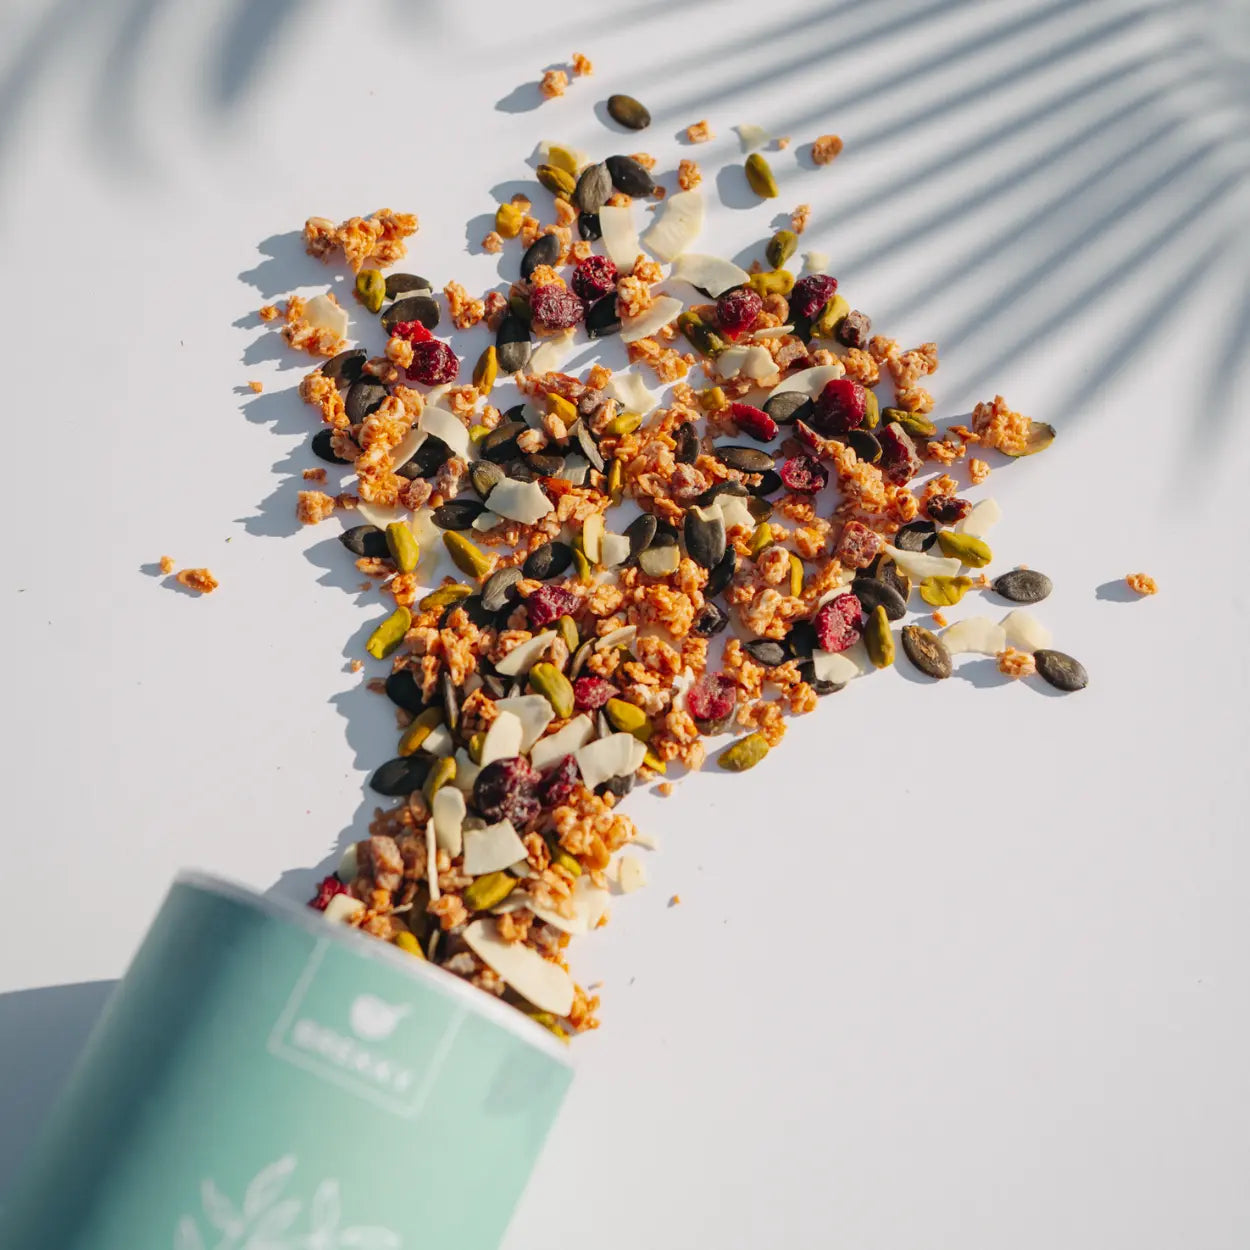
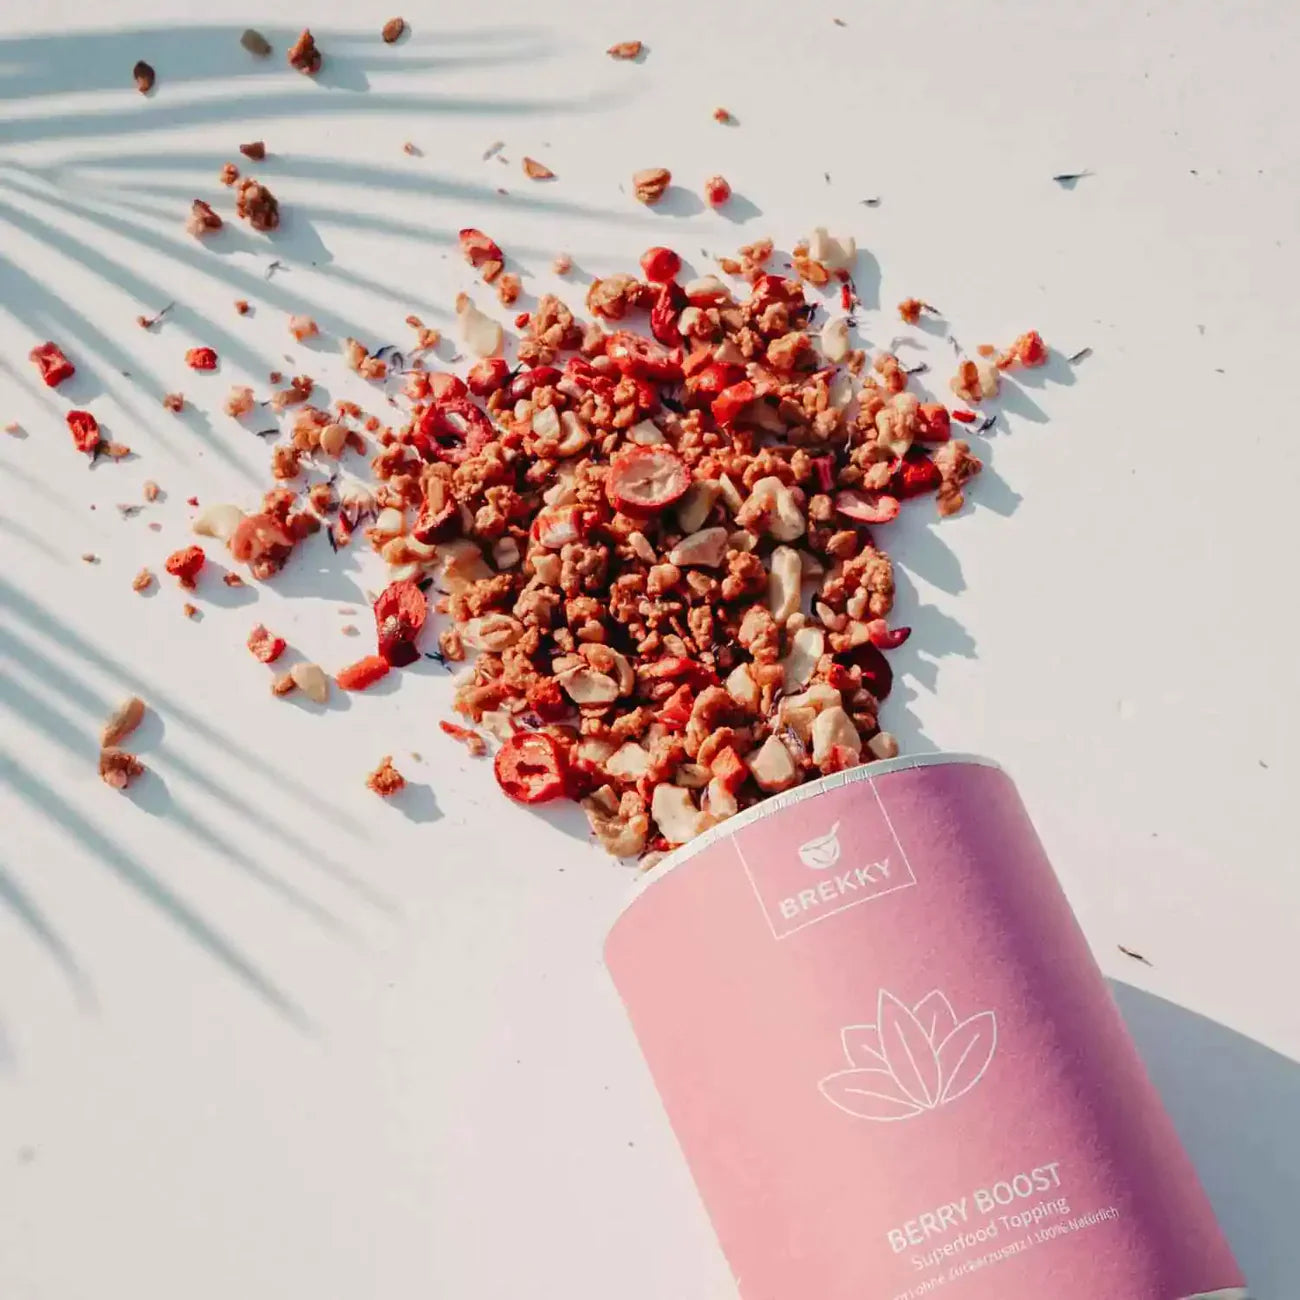
- Toppings
Toppings are the finishing touch to your bowl. In addition to fresh or frozen fruit, chopped nuts, shredded coconut, seeds (chia, flax, pumpkin, sunflower seeds), granola, or oatmeal are excellent additions. Cocoa nibs or chocolate chips (e.g., dark chocolate) can also be a delicious addition.

Step-by-step instructions: How to make a smoothie bowl
Achieve the right consistency
Consistency is one of the most important aspects when preparing a smoothie bowl. After all, you don't want a runny shake, but rather a thick, creamy base that will hold your toppings and prevent them from sinking into the mix.
- Start with little liquid
First, pour just a small sip of plant-based milk or milk into the blender and add your main ingredients (e.g., frozen banana, frozen berries). Blend briefly and see if everything blends smoothly.
- Gradually add
If the mixture is too thick, add more liquid a tablespoon at a time. Continue blending until a creamy texture is achieved. It's better to adjust the mixture carefully than to add too much liquid right away.
-
Season to taste
Feel free to taste test it at this point. Do you need more sweetness? Would you like a little more acidity from a squeeze of lemon or orange juice? Would you like to add a bit more protein? This way, you can perfect your own recipe step by step.
Take breaks while mixing. If you're using a conventional stand mixer, take the time to turn it off every now and then and scrape the mixture down from the sides. This ensures all the ingredients are mixed evenly.
Common problems and solutions
- The bowl is too liquid
No problem! Simply add more frozen fruit or some oats to thicken the bowl. Half an avocado or a spoonful of peanut butter also helps improve the texture.
- The ingredients cannot be mixed
Are the blades on your blender getting stuck? This is usually due to a lack of liquid or your blender not being powerful enough. With a little extra liquid or switching to a more powerful appliance (e.g., Thermomix), it usually works effortlessly.
- The bowl tastes boring
Experiment with acidity and sweetness. Add a little lemon juice to intensify the flavors, or reach for natural sweetness from dates or honey. Spices like vanilla, cinnamon, or a touch of cocoa can also work wonders.
Variations: Prepare a smoothie bowl with the Thermomix
For anyone who owns a Thermomix, there's a particularly easy way to make a smoothie bowl at home. Thanks to the powerful blades and automatic programs, you save time and achieve a consistently creamy consistency.
- Preparation
Make sure you've weighed all the ingredients according to the recipe. Roughly chop your fresh fruit and set it aside. Frozen fruit usually doesn't need to be thawed, as long as your Thermomix is powerful enough.
- Step by step procedure
- Add the frozen fruit and optionally some fresh fruit (e.g. banana) to the mixing bowl.
- Select a low setting (e.g. level 4) and blend the fruit.
- Now add some liquid (plant drink, coconut water, milk).
- Increase the level to 6 or 7 and observe the consistency.
- If necessary, add more liquid until you get a creamy but still firm mixture.
- Season your smoothie bowl to taste. If desired, add a spoonful of honey or protein powder and blend again briefly.
- Optimal consistency
The Thermomix blades are very effective, allowing you to quickly achieve a smooth and airy consistency. Be careful not to overmix, so your bowl doesn't get too warm. Icy, refreshing smoothie bowls taste especially good in the morning.
- Conclusion on the Thermomix
A smoothie bowl in the Thermomix is perfect for families or anyone in a hurry in the morning. You can vary the quantities freely and make several servings at once without much effort. Children often enjoy choosing different toppings and sprinkling them on their own smoothie bowl. This makes for a quick, delicious, and healthy breakfast that's also ideal for school or a busy start to the day.
DIY smoothie bowl powder
Basic recipe for homemade powder
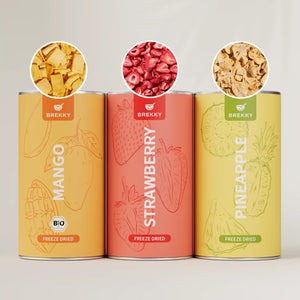
Dried fruit
Use freeze-dried bananas, strawberries, raspberries, or mango. These retain their intense flavor and provide natural sweetness. You can find them in well-stocked supermarkets or order them online. Look for high-quality products without additives.
Dried fruits
Dried dates, figs, or apricots also work well in powder form. Cut them into small pieces to make them easier to blend in a blender. You can add more or less dried fruit depending on your preference and desired sweetness.
Basic ingredients
- Oat flakes (fine or whole)
- Nuts and seeds (e.g. almonds, cashews, chia seeds)
- Coconut flakes for an exotic touch
- Possible protein supplementation (e.g. vegetable protein powder)
Preparation of the powder
- Put your dry ingredients (dried fruit, flakes, nuts) into a powerful blender or Thermomix.
- Grind everything until you have a powder or a fine mixture. You can vary the grind: some people prefer a more granular powder, others prefer a very fine powder.
- Make sure that no moisture gets into the powder, otherwise it will quickly become lumpy or even moldy.
- use
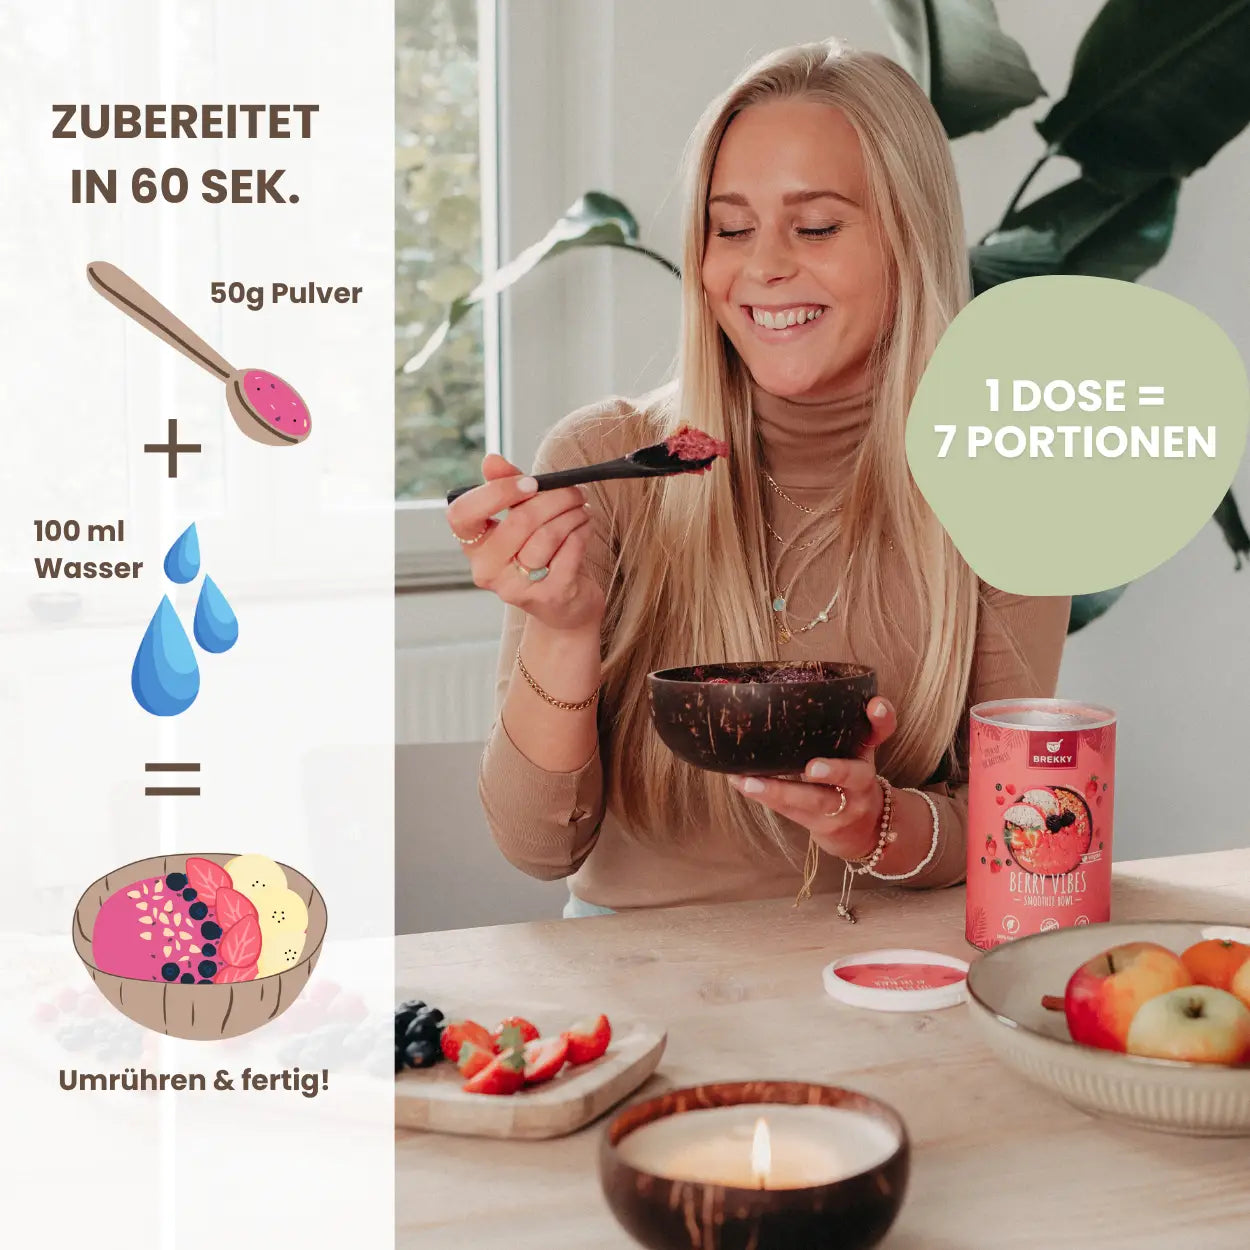
To quickly prepare your smoothie bowl, mix a few tablespoons of the powder with some liquid, such as oat or almond milk. Then, you can add fresh fruit or even pour the powder directly into your blender if you want to use frozen fruit.
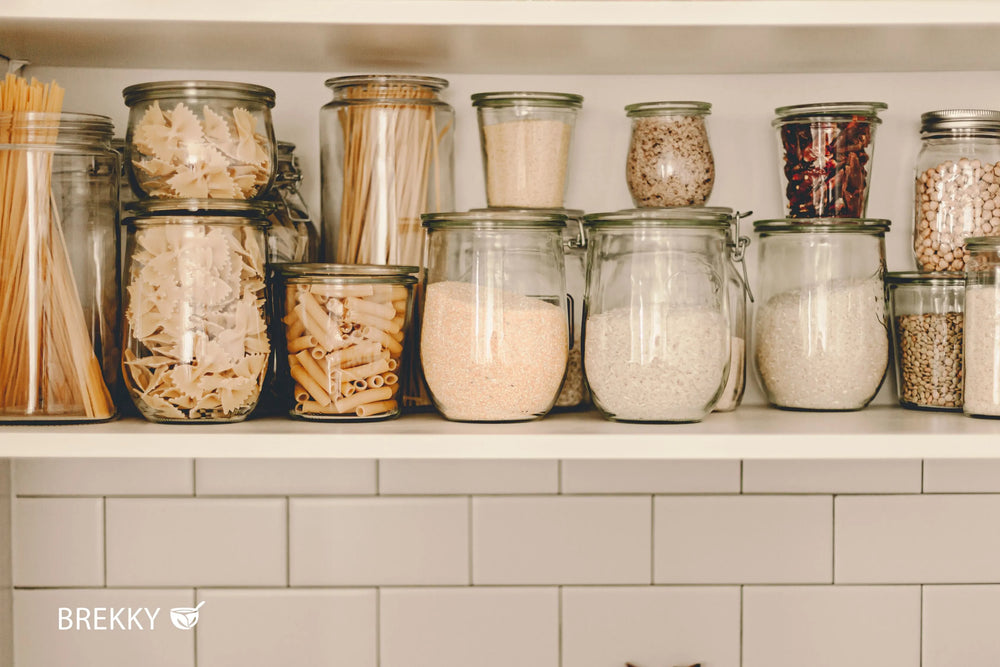
Storage and shelf life
- Seal airtight
It's best to store your powder in a screw-top jar or a tightly sealed container. Avoid direct sunlight and significant temperature fluctuations.
- Cool, dry place
Store the powder in a cool, dry place. This way, it will usually last for several weeks to months. The exact shelf life depends on the ingredients used—especially the dried fruit.
- Visual and olfactory inspection
Before each use, briefly check that the powder still smells fresh and is free of lumps. As soon as mold appears or an unpleasant odor develops, you should discard it as a precaution.
- Advantages
- Time saving in the morning
- Always a base for spontaneous smoothie bowls ready
- Your own taste can be perfectly met
- No unnecessary additives such as artificial colors or preservatives
So if you like to make smoothie bowls often, this powdered solution is a smart addition. It's especially practical for on the go or when you're in a hurry in the morning.

Smoothie bowls for on the go and at school
Preparation tips for children's smoothie bowls
- Step 1: Prepare the base
If you're short on time in the morning, you can prepare certain things the night before. Cut up fresh fruit and store it in a sealed container in the refrigerator. If you're using frozen fruit, you can store it in individual portions in ziplock bags so you only have to add the right amount to the blender.
- Step 2: Adjust consistency
It's especially practical for children to make the smoothie bowl a little thicker. This way, it's less messy when eating, and toppings like oatmeal, nuts, or seeds don't immediately sink to the bottom. With a slightly firmer consistency, children often feel more confident when spooning it in because there's less dripping.
- Step 3: Add toppings separately
It can be a good idea to add toppings like granola, nuts, or chocolate chips separately. This way, they stay nice and crunchy and only mix with the base just before eating. This can be a little fun for kids to decorate their smoothie bowl themselves.
- Step 4: Choose transport container
Make sure you use a leak-proof container. A leak-proof container or a double-walled glass jar with a screw cap works well. Some lunch boxes have built-in compartments for toppings or sauces. This reduces the risk of liquids ending up in your school bag.
Transport and shelf life
- Keep cool
A major challenge is keeping the smoothie bowl fresh. If possible, use a small cooler bag or place an ice pack in your school backpack. This can be crucial, especially on hot days, to prevent rapid fermentation or discoloration.
-
Snack tray instead of bowl
If you're unsure whether your child really has the time and inclination to eat at school, you can also pour the smoothie bowl into a bottle in the form of a slightly thicker smoothie. This way, it's practically drinkable. You can still add the toppings (e.g., oatmeal, chia, flaxseed). While this isn't a traditional bowl, it's still a similar idea and a compromise when children are on the go.
- Ideas for school
- Fruity Layered Bowls : Layer a slightly thicker smoothie base with fruit puree or natural yogurt. This creates an interesting look and keeps it fresh longer.
- Portioned snacks : Make small frozen "smoothie muffins" from your smoothie base. Once thawed, they'll have a creamy, spoonable consistency. All you need for school is a container.
- Advantage: More vitamins, less sugar
Especially snacks often contain a lot of hidden sugar or other additives. With a homemade smoothie bowl, you know exactly what your child is eating and can optimally control the ratio of fruit, protein sources, and healthy fats (e.g., nuts).
Frequently Asked Questions